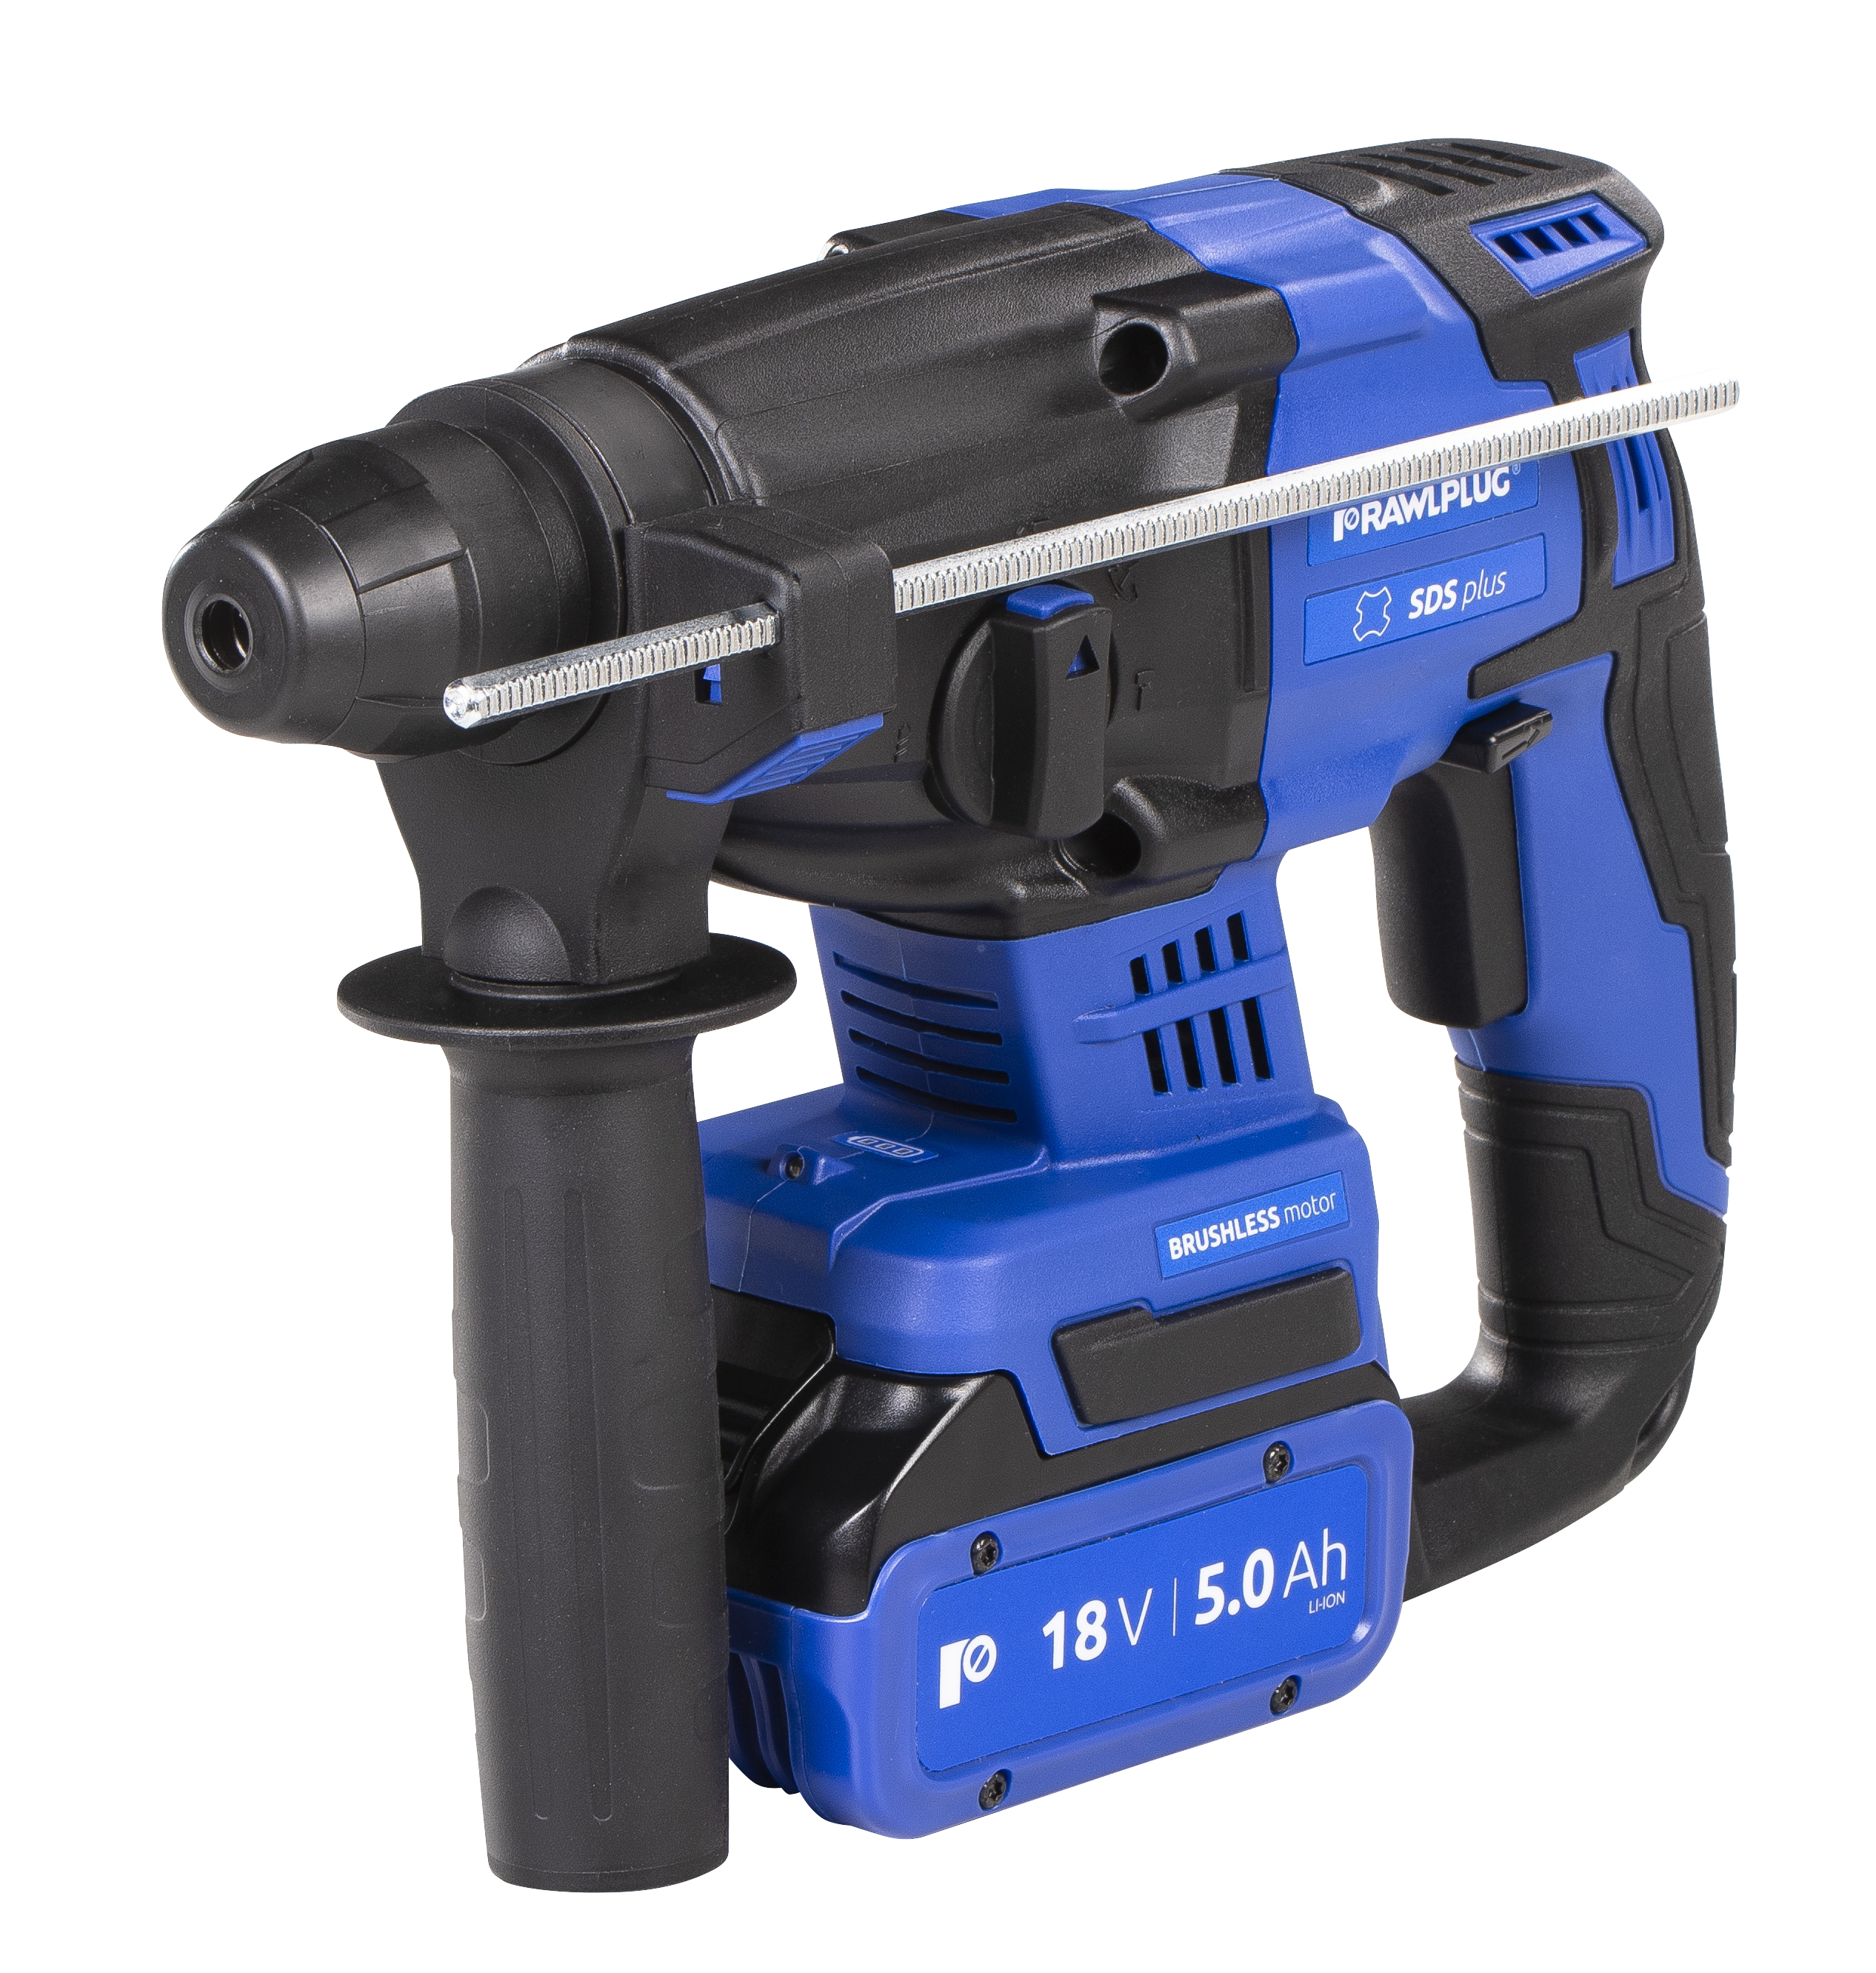
R-KEX-I HIGH-PERFORMACE EPOXY RESIN THREADED RODS
High performance pure epoxy resin approved for cracked and non-cracked concrete. Available in Asia-Pacific region.


Features and benefits
- High-performance epoxy resin for concrete.
- Approved for use with threaded rods for use in non-cracked concrete (EAD 330499-00-0601).
- Suitable for use in dry and wet substrates including flooded holes (use category I1 & I2).
- Installation direction D3 (downward and horizontal and upwards installation).
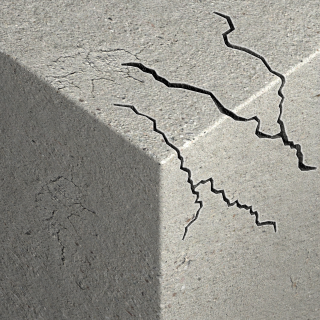
- Very high chemical resistance – suitable for applications exposed to influence of various agents (industrial or marine environment).
- Extended working time ensures easy installation of metal components (up to 50 min. in 20°C).
- Working with Dustlessdrill - drlling and hole cleaning in one step.
- Wide offer of rods under diameters and types of anticorrosive coating: A4, ZP, HDG, ZF and HCR.
- High Corrosion Resistant (HCR) steel rods for damp and aggressive conditions.
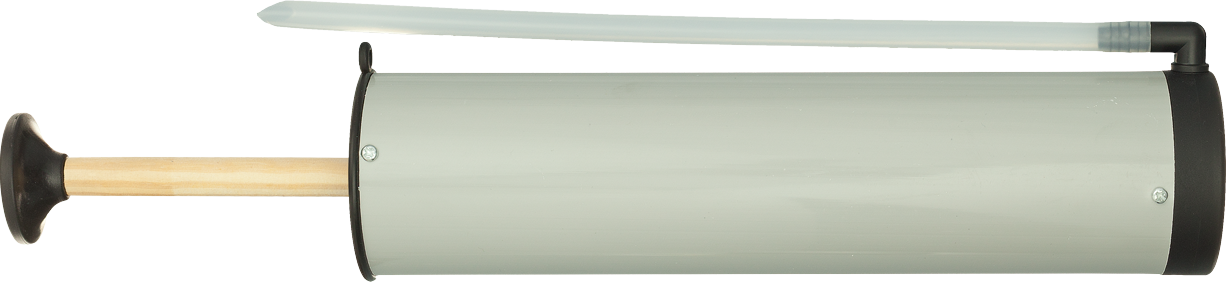
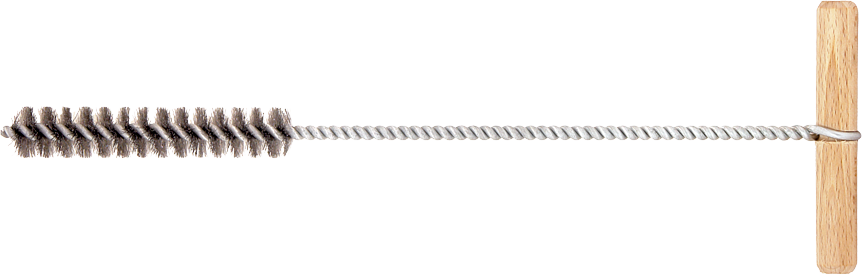
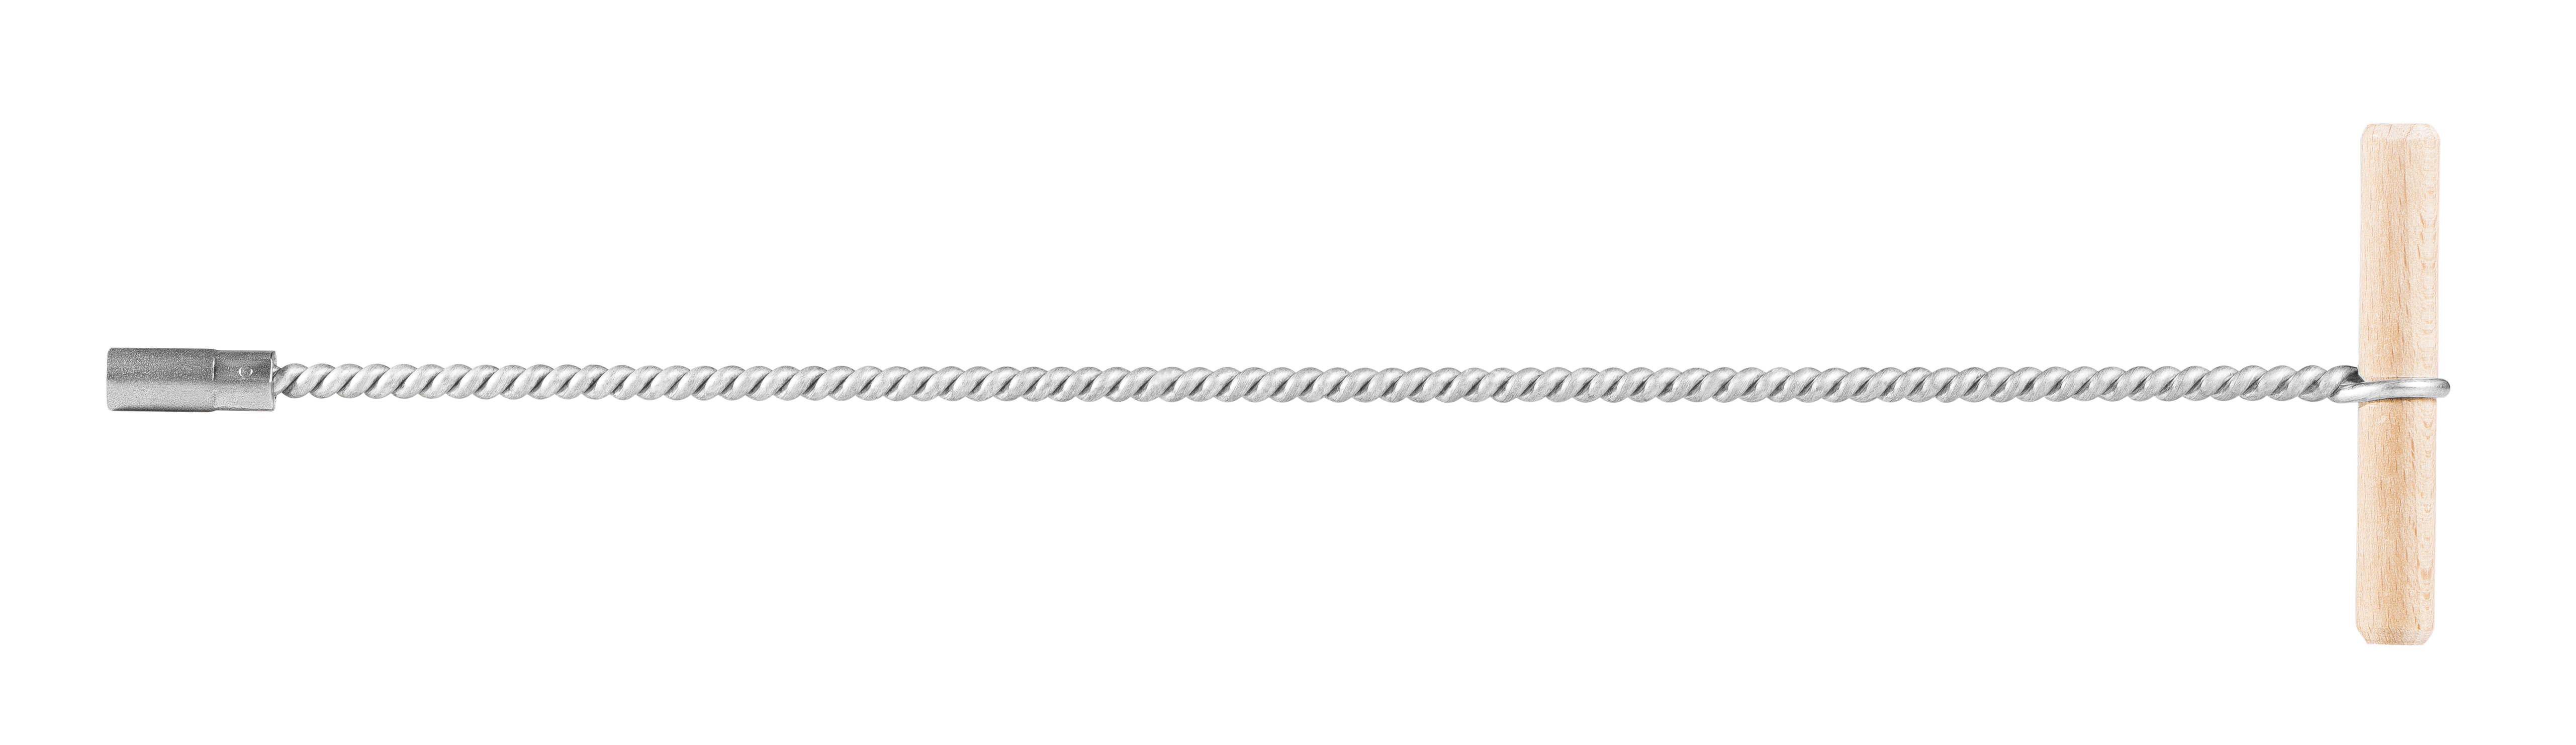
- Accessories dedicated for deep anchoring (brushes, extensions, piston plug, air adater and power guns)
Product information
Product Code |
Resin |
Description / Resin Type |
Volume |
[ml] | |||
R-KEX-I-600 |
R-KEX I |
Epoxy Resin |
600 |
Base material
-

Non-cracked concrete C20/25-C50/60
-
Cracked concrete C20/25-C50/60
Applications
- Safety barriers
- Formwork support systems
- Structural steelwork
- Street lamps
- Curtain walling
- Racking systems
- Balustrading
- Barriers
- Cladding restraints
- Masonry support
- Heavy machinery
- Platforms
Installation guide
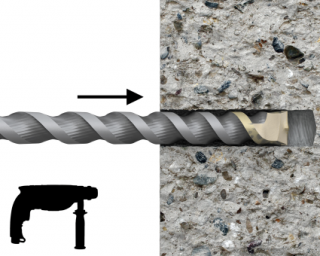
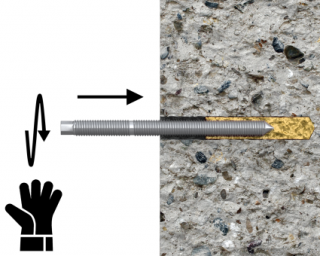
- Drill hole to the required diameter and depth for stud size being used.
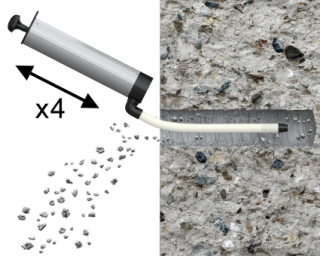
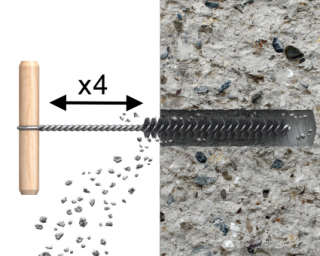
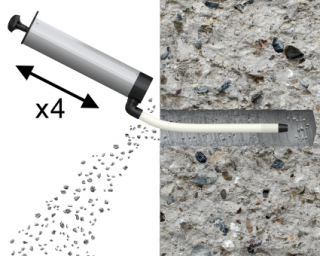
- Clean the hole thoroughly with brush and hand pump at least four times before installation.
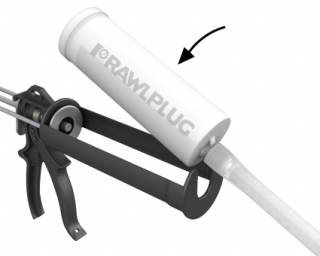
- Insert cartridge into gun and attach nozzle.
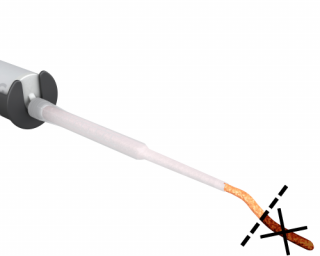
- Dispense to waste until even colour is obtained.
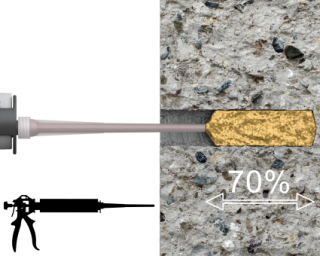
- Insert the mixing nozzle to the far end of the hole and inject resin, slowly withdrawing the nozzle as the hole is filled to 70% of its depth.
- Immediately insert the stud, slowly and with slight twisting motion. Remove any excess resin around the hole before it sets and leave it undisturbed until the curing time elapses.
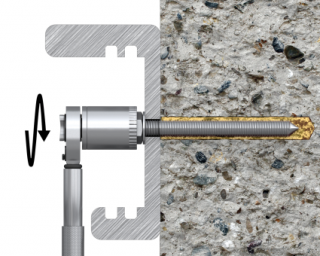
- Attach fixture and tighten the nut to the required torque.
Installation data
R-STUDS
Size |
M8 |
M10 |
M12 |
M16 |
M20 |
M24 |
M30 |
||
Thread diameter |
d |
[mm] |
8 |
10 |
12 |
16 |
20 |
24 |
30 |
Hole diameter in substrate |
d0 |
[mm] |
10 |
12 |
14 |
18 |
24 |
28 |
35 |
Hole diameter in fixture |
df |
[mm] |
9 |
12 |
14 |
18 |
22 |
26 |
32 |
Min. hole depth in substrate |
h0 |
[mm] |
hnom + 5 |
hnom + 5 |
hnom + 5 |
hnom + 5 |
hnom + 5 |
hnom + 5 |
hnom + 5 |
Min. substrate thickness |
hmin |
[mm] |
hnom + 30 ≥ 100 |
hnom + 30 ≥ 100 |
hnom + 30 ≥ 100 |
hnom + 2d0 |
hnom + 2d0 |
hnom + 2d0 |
hnom + 2d0 |
Installation torque |
Tinst |
[Nm] |
10 |
20 |
40 |
80 |
120 |
160 |
200 |
Min. spacing |
smin |
[mm] |
40 |
40 |
40 |
40 |
50 |
50 |
60 |
Min. edge distance |
cmin |
[mm] |
40 |
40 |
40 |
40 |
50 |
50 |
60 |
MINIMUM EMBEDMENT DEPTH | |||||||||
Min. installation depth |
hnom,min |
[mm] |
60 |
60 |
70 |
80 |
90 |
96 |
120 |
MAXIMUM EMBEDMENT DEPTH | |||||||||
Min. installation depth |
hnom, max |
[mm] |
160 |
200 |
240 |
320 |
400 |
480 |
600 |
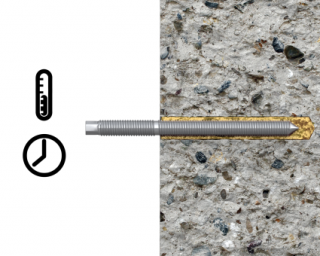
Minimum working and curing time
Resin temperature |
Concrete temperature |
Curing time* |
Working time |
[°C] |
[°C] |
[min] |
[min] |
5 |
5 |
96 h |
180 |
10 |
10 |
72 h |
120 |
20 |
20 |
10 h |
50 |
25 |
30 |
5 h |
35 |
25 |
40 |
4 h |
20 |