R-PLS Plastic Mesh Sleeves
The sleeve for reduced mortar consumption and optimal mechanical interlock

Features and benefits
- Ensures that the anchor rod is properly centred
- Reduces consumption of resin
- User-friendly installation in hollow substrates
- Size must be adjusted to the hole depth and diameter
- Hole cleaning is not necessary
Product information
Product Code |
Plastic mesh sleeve size |
Stud size |
Hole diameter |
Raw material |
Colour |
d | |||||
[mm] |
- |
[mm] |
- |
- |
|
R-PLS-16085-10 |
16x85 |
M10-M12 |
16 |
polypropylene |
transparent |
R-PLS-16130-10 |
16x130 |
M12 |
16 |
polypropylene |
transparent |
R-PLS-20085-10 |
20x85 |
M16 |
20 |
polypropylene |
transparent |
R-PLS-12050-10 |
12x50 |
M8 |
12 |
polypropylene |
transparent |
R-PLS-12050 |
12x50 |
M8 |
12 |
polypropylene |
transparent |
R-PLS-16085 |
16x85 |
M10-M12 |
16 |
polypropylene |
transparent |
R-PLS-16130 |
16x130 |
M12 |
16 |
polypropylene |
transparent |
Applications
- For use with R-STUDS threaded rods in hollow base materials
Installation guide
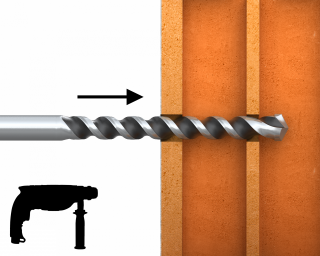
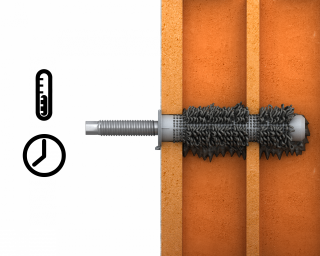
- Drill the hole and clean it up.
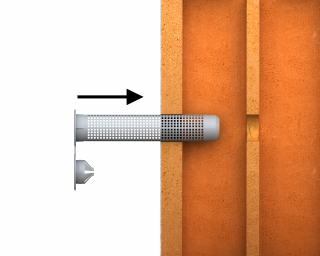
- Insert the sleeve in the hole.
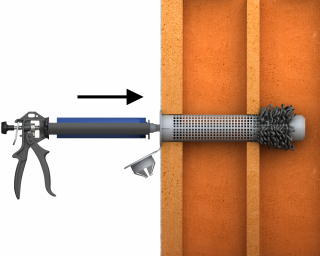
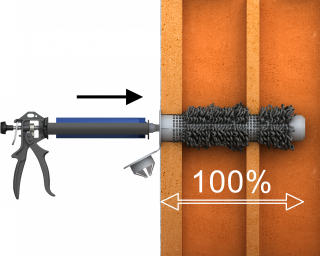
- Apply the resin in 100 % of depth of the hole and close the cap.
- Place the stud in the sleeve and wait until full curing of the resin, as stated on the product label.
- After full curing of the anchor, install the fixed element with proper torque.