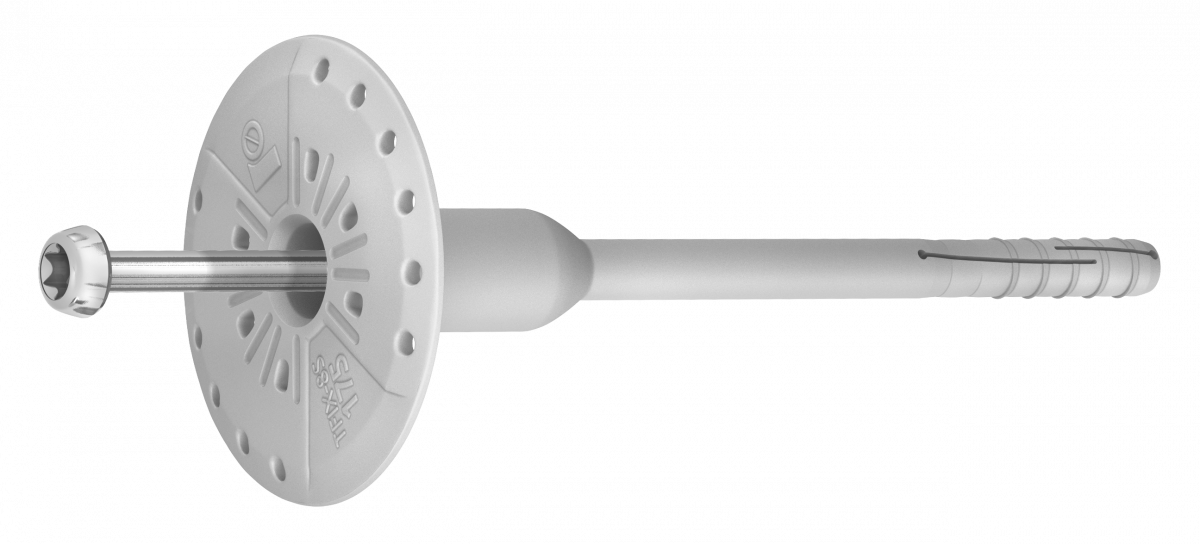
R-TFIX-8S-...-X Universal facade fixing with plain screw
The most effective screw-in facade fixing for countersunk installation with the possibility of surface mounting


Technical Data Sheet
R-TFIX-8S-...-X Universal facade fixing with plain screw - Technical Data Sheet


Features and benefits
- Quick and easy installation in all substrates (categories A,B,C,D,E)
- Unique sleeve compression zone for precision installations.
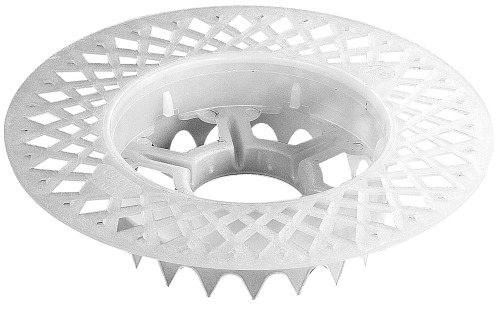
- Installation with post-installed insulation cap R-TFIX-CAP63 in three versions: R-TFIX-CAP63-EPS-W, R-TFIX-CAP63-EPS-G, R-TFIX-CAP63-EPS-MW reduces heat transmission and results in a homogenous insulation surface
- Plate stiffness (value 0.6 kN/mm) ensures smooth elevation surface and stable insulation system.
- Unique design allows for high load-bearing capacities. This reduces the quantity of fixings required per square metre of insulation
- The shortest embedment depth at the maximum strength parameters
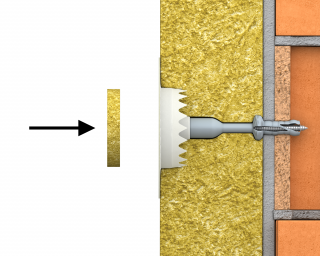
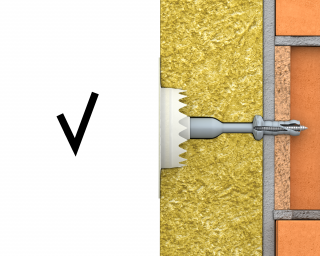
- Countersunk installation possible with use of R-TFIX-TOOL-CS or additional R-KWX-063 plate with post-installed R-TFIX-CAP63 insulation cap and system bit R-TFIX-TOOL-BLACK
- Installation flush with the surface possible with use of R-TFIX-TOOL-BLACK system bit and post-installed R-TFIX-CAP15 insulation cap
- Pre-assembled screw saves time and labour
Product information
Size |
Product Code |
Fixing |
Fixture |
|||
Diameter |
Plate diameter |
Length |
Recommended thickness |
|||
d |
D |
L |
tfix A, B, C, D |
tfix E |
||
[mm] | ||||||
Ø08 |
R-TFIX-8S-115-X |
8 |
60 |
115 |
80 |
40 |
R-TFIX-8S-135-X |
8 |
60 |
135 |
100 |
60 |
|
R-TFIX-8S-155-X |
8 |
60 |
155 |
120 |
80 |
|
R-TFIX-8S-175-X |
8 |
60 |
175 |
140 |
100 |
|
R-TFIX-8S-195-X |
8 |
60 |
195 |
160 |
120 |
|
R-TFIX-8S-215-X |
8 |
60 |
215 |
180 |
140 |
|
R-TFIX-8S-235-X |
8 |
60 |
235 |
200 |
160 |
|
R-TFIX-8S-255-X |
8 |
60 |
255 |
220 |
180 |
|
R-TFIX-8S-275-X |
8 |
60 |
275 |
240 |
200 |
|
R-TFIX-8S-295-X |
8 |
60 |
295 |
260 |
220 |
|
R-TFIX-8S-335-X |
8 |
60 |
335 |
300 |
260 |
|
R-TFIX-8S-355-X |
8 |
60 |
355 |
320 |
280 |
|
R-TFIX-8S-375-X |
8 |
60 |
375 |
340 |
300 |
|
R-TFIX-8S-395-X |
8 |
60 |
395 |
360 |
320 |
|
R-TFIX-8S-415-X |
8 |
60 |
415 |
380 |
340 |
|
R-TFIX-8S-435-X |
8 |
60 |
435 |
400 |
360 |
|
R-TFIX-8S-455-X |
8 |
60 |
455 |
420 |
380 |
|
R-TFIX-8S-315-X |
8 |
60 |
315 |
280 |
250 |
|
Base material
-

Concrete C12/15-C50/60 (Use category A)
-
 Concrete External wall panel C 16_20 – C50_60_1.png)
External wall panel of concrete C16/20 – C50/60 (Use category A)
-
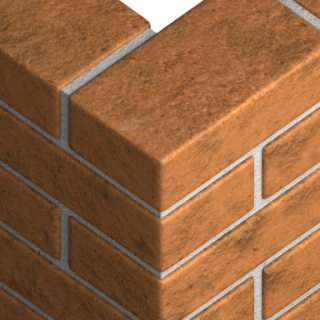
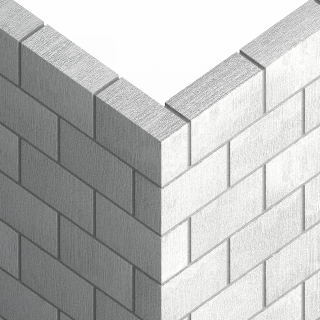
Solid Brick (Use category B)
-
Solid Sand-lime Brick (Use category B)
-
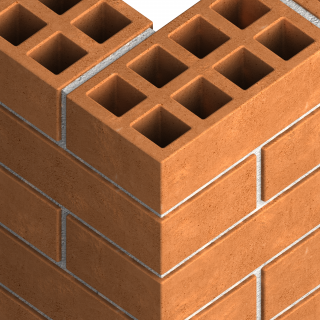
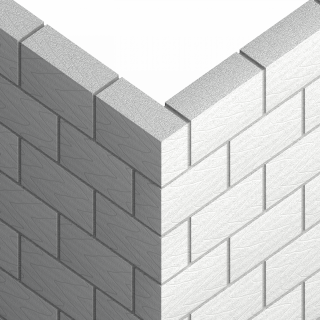
Hollow Brick (Use category C)
-
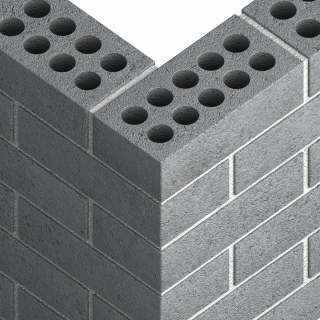
Hollow Sand-lime Brick (Use category C)
-
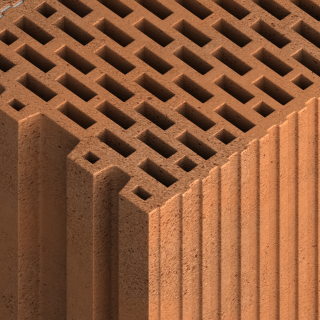
Vertically-perforated clay block (Use category C)
-
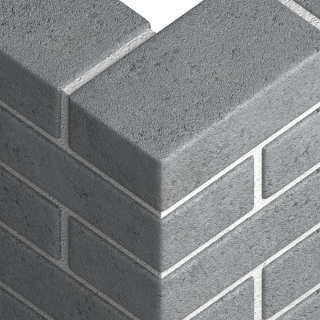
Lightweight Concrete Block (Use category C)
-
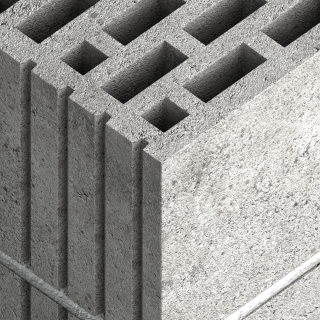
Hollow Lightweight Concrete Block (Use category D)
-
.png)
Reinforced components of lightweight aggregate concrete (Use category D)
-
Autoclaved Aerated Concrete (Use Category E)
Applications
- External Thermal Insulation Composite Systems (ETICS)
- Polystyrene (EPS) boards
- Polyurethane (PU) boards
- Mineral wool (MW) boards
- Cork boards
- Lightweight wood wool building boards
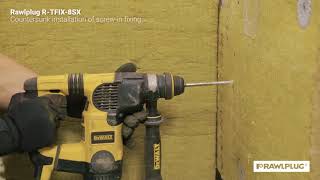
Installation guide
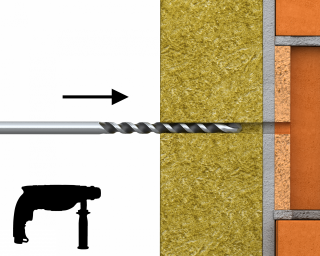
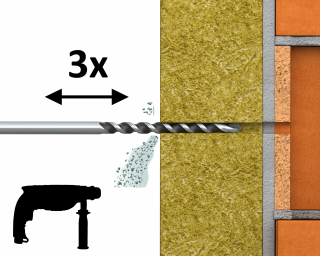
- Drill a hole of required diameter and depth
- Drilling depth of min 35mm in A,B,C,D materials and 75mm in Aerated Concrete Block.
- Clean drilled hole 3 times.
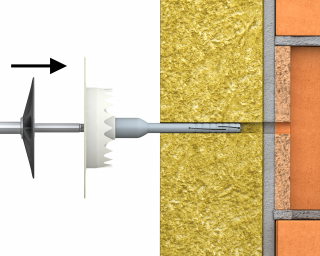
- Insert R-TFIX-TOOL-BLACK into recess in head moulding of R-TFIX-8SX screw.
- Insert the fixing into the drilled hole.
- When using the KWX-63 the teeth should be embedded in the insulation material after hammering.
- Embedment depth of min 25mm in A,B,C,D materials and 65mm in Aerated Concrete Block.
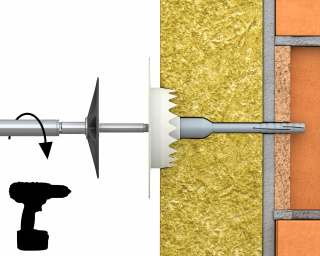
- Apply steady axial pressure, ensuring the disc of the setting tool is kept perpendicular to the fixing axis.
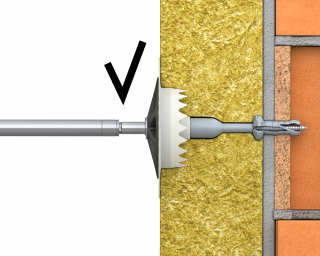
- Steadily drive in the screw with high revs until fixing is secure (when disc touches insulation surface).
Installation data
Substrate |
A, B, C, D |
A - external panel |
E |
||
Hole diameter in substrate |
d0 |
[mm] |
8 |
8 |
8 |
Min. installation depth |
hnom |
[mm] |
25 |
25 |
45 |
Min. hole depth in substrate |
h0 |
[mm] |
35 |
35 |
55 |
Min. hole depth in substrate - countersunk mounting |
h0 |
[mm] |
45 |
45 |
65 |
Min. substrate thickness |
hmin |
[mm] |
100 |
40 |
100 |
Min. spacing |
smin |
[mm] |
100 |
100 |
100 |
Min. edge distance |
cmin |
[mm] |
100 |
100 |
100 |
Fixing diameter |
d |
[mm] |
8 |
8 |
8 |
Downloads
- R-TFIX-8S-...-X Universal facade fixing with plain screw - Technical Data Sheet
- UKTA_R-TFIX-8S_0836-22_6348_2022_EN.pdf
Need documents for other product? Visit our Technical Library.
go to library