RPP-FIX-60S Express polyurethane adhesive
Professional fast foam adhesive with high adhesion to many materials and substrates

Features and benefits
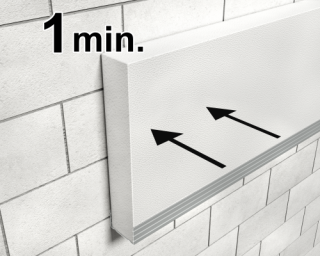
- Initial tack after 60 seconds
- Mechanical anchoring after 2h
- Complete hardening time after 24h
- Wide range of applications
- Excellent adhesion to common construction materials
- Easy and convenient application
For use also with
-
 boards_WebRes.png)
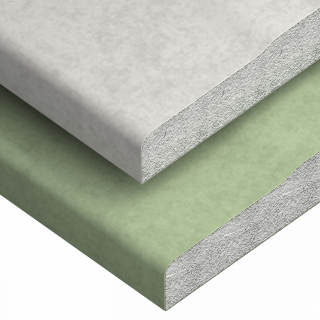
Polystyrene (EPS) Boards
-
Plasterboard
-
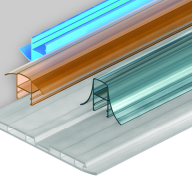
PVC Profile
-
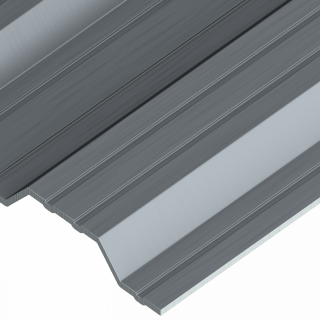
Metal Sheet & Profiles
-
XPS Extruded Polystyrene Insulation Boards
-
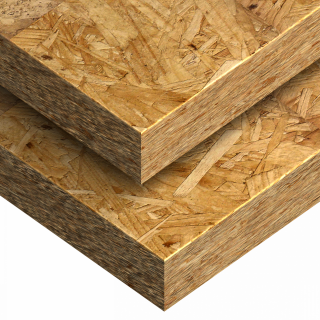
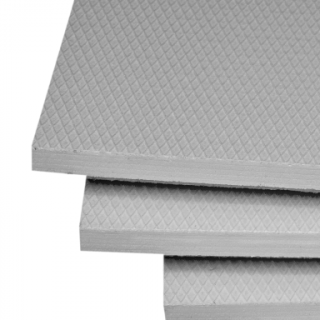
Oriented Strand Board
-

Mineral Wool Boards
-
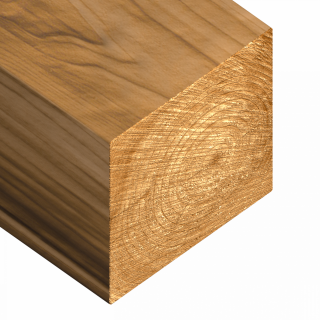
Timber
-
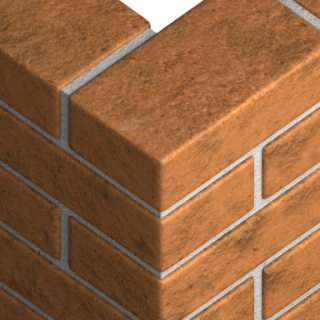
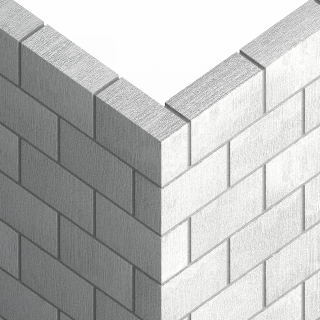
Solid Brick
-

Concrete
-
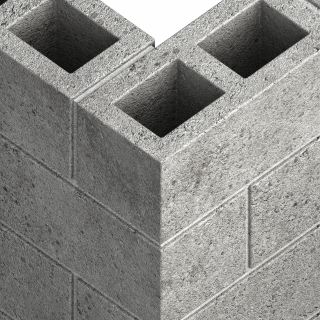
Ceramic Hollow Block
-
Silicate Blocks
Applications
- Installation of plasterboards and OSB boards for walls and floors
- For bonding expanded polystyrene boards (EPS), extruded polystyrene boards (XPS) and polyurethane rigid foam boards (PUR)
- Insulation of containters or garages
- Filling gaps in thermal insulation
- Fastening of ceramic blocks, aerated concrete blocks and silicate blocks
- Installation of window sills and stairs
- For bonding decorative elements, coffers, floor moldings
Installation guide

- Wear protective gloves. Ensure surfaces are free from dust, dirt, lime or grease. If the wall surface is dirty it must be primed.
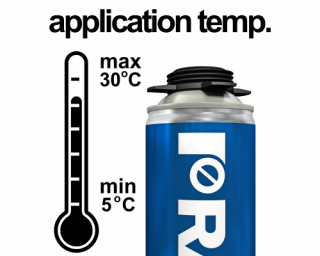
- Before using, make sure that the can temperature is above zero (optimum +20°C). Application temperature from +5°C up to +30°C.
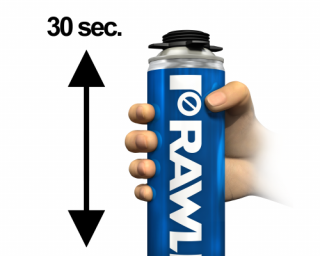
- Shake can vigorously for 30 seconds to mix properly components.
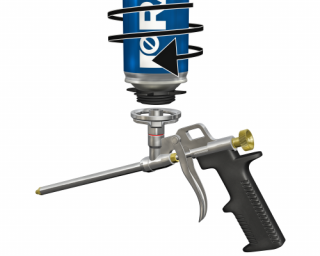
- Screw gun onto the can. Hold can upside-down during application.
- Moisten surfaces with water prior to application.
- Fill gaps from down to up, zigzag motion, alternating from one wall to the other. Fill gaps to approximately 60 % volume. Max. wide of the gap 3-4 cm. Wider gaps should be applied after hardening of the previous layer. Each layer should be moistened with water using a spray.
- After full curing, cut the excess foam with a knife and protect it from UV exposure by coating with plaster, paint, acrylic or silicone.
- In the event of a stoppage exceeding five minutes duration, wipe the nozzle with cleaner for foam applicator.
- After removing the applicator gun from the can, wipe down the nozzle and gun (internal and external surfaces) using a cleaner.